Dragon Quest 1 Walk Through
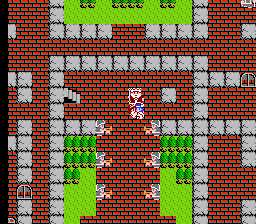
Tantegel Castle
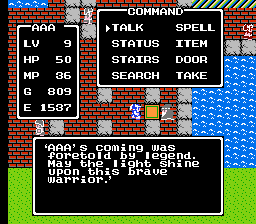
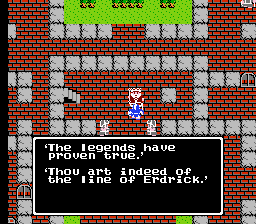
You are the descendent of Erdrick. The king of Tantegel then sends you off to defeat the Dragonlord and fight his minions along the way. Also the princess Gwaelin has been captured by a Green Dragon and she must be rescued. Erdrick used a Ball of Light but the Dragonlord has this.
Grab the treasures around you. You will have 120 gold, a Magic Key and a Torch. The Torch lights a path in caves while a Magic Key opens doors (like the one south of you). They are rare to find in a treasure chest and can only be bought in certain places.
The place in the southeast part of Tantegel is where your MP will be restored. This is like a free Inn once you get Heal spell.

Brecconary Town
Outside you’ll see Brecconary town to your east. You can buy a Club with that 120 Gold, not a bad idea. Then save up for a Copper Sword and maybe some defensive gear. Buy a Dragon’s Scale for 20 gold and “Use” it to don it and improve your abilities slightly. A guy around here will get rid of Curses should you come across one.
The people who are barred off via magic key doors have important information but we won’t be able to talk to them for a while. You’re going to need to go outside and build up levels for quite a bit, to about level 4 and then you can venture a little north to where you can fight Ghosts and Magicians, although the latter is pretty tough with his Hurt spell.
If you go to Erdrick’s Cave north of Tantegel you’ll find a tablet at the end (use Torch’s to see). The tablet tells you of the three items that allow you to go to Charlock Castle to fight the great evil.
Garinham
Northwest of Tantegel and Brecconary is Garinham. If you’ve played Dragon Warrior III this is where Garin’s house was. The weapon shop here has a Large Shield (very useful), Hand Axe (very useful) and Half Plate (semi useful). Unfortunately they are 800, 560 and 1000 respectively so good luck building up for them.
If you venture past some bridges to the southwest you’ll fight tougher monsters (like Skeletons and then even further southwest near Haukness you’ll be wiped out by very tough monsters. Let’s not go here for now. Instead fight around Garinham and then go east past the bridge and then north when you pass a second bridge (you’ll see a lot of black poison spots).
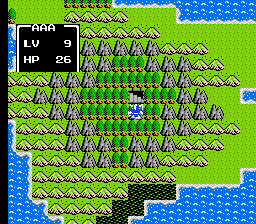
Kol
You’ll get to Kol once you go north for a great while and then east a bit. It’s hidden among some forested areas. Not much is new here except the Full Plate armor. Kol does have the Fairy Flute 4 steps south of the path of water in the north part of town. Just search 5 spots south and you’ll find the fairy flute.
Not much to do with the Fairy Flute yet and nothing else to do in Kol. You’re still probably too weak to go through the cave via the poison spots in the south. Try to fight up to level 8 or 9 and get some of the best armor and Hand Axe by then also. This a chore but across the cave and into a new land and the monsters become much harder.

Rimuldar / Kol Cave
Maybe you have Radiant by now. This spell is like the Torch item but about 4 times more powerful. It costs MP and wears down eventually but for this cave it’d be fine (even a Torch would do). The east part of the cave has a Green Dragon that will kill you so lets not go there.
Instead, as you start off go due south until you hit a wall. Go east all the way, south, east, and then south again. Now west and up the staircase and you’re out. Easy, wasn’t it? I’ve done it all the time even without a torch.

Rimuldar
Go west as you exit and then south. After you pass the water area and first mountain range go east and you’ll see a passage to a new town. Watch out for the Warlock, Metal Scorpion and Wolf.
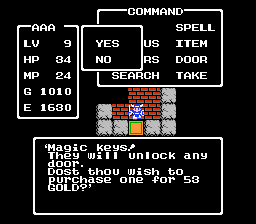
Go north as soon as you enter this town. You’ll see a blue guy, Orwick. Go west of him (he’s there to show you that you can go on the outskirts of town) and then south into that little building in the northwest. The old guy in here sells Magic Keys for 53 Gold! Stock up on them they’re important, buy as many as you can.
The guy in the Inn is Howard, who you heard about at Kol. He tells you about the four steps south of the bath thing in Kol. The treasure here is a Wings so don’t bother wasting keys for it. The Broad Sword is a formidable weapon for you right now and not that much gold to acquire. The Magic Armor however is and I advise you don’t buy it as it’s relatively wasteful (depends on what you have but if you can avoid getting expensive armor before Erdrick’s Armor you’ll thank yourself for the fighting up you didn’t have to do).
Nothing left to do here. You can go south of Rimuldar to a shrine but the guy banishes you as you don’t have the items yet. You can fight the Wyverns for good experience and the Gold Men for ridiculous gold (200 about).
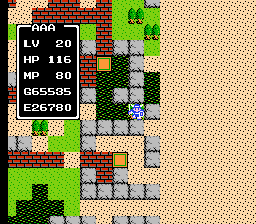
Tantegel
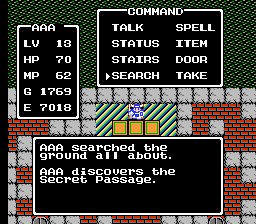
Now that you have these keys (let’s say 6 or 7) go to Tantegel and save. Now go to the north part of town and use the key to get to the east part. A guy sells keys around here so if you were low then stock up. Go on the outskirts via the east and then go south. You’ll see a staircase that leads to Stones of Sunlight.
Garinham
In Garinham use the key in the northeast part of town. Try to walk through the wall to the north (northwest part of room) and you’ll go through. Go east and down the stairs and you’ll be in a Garin’s Grave.
Cast Radiant. Go east a few steps, north a bit and east all the way. Now go south and use a Magic Key. Go south and west to a set of stairs.
Go west all the way and south all the way, ignoring all of the stairs until you’re in the southwest corner. Go northeast to the next set of stairs and grab the Silver Harp and cast Outside or walk out or use Wings.
Kol
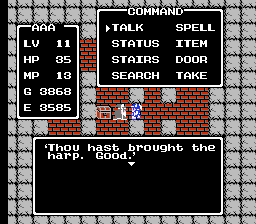
Return to Kol but go west of it. You’ll see an area you probably haven’t seen with a shrine. Inside the guy will give you a Staff of Rain for your Silver Harp. This is wonderful.
Cave southwest of Tantegel
To get here, go west of Tantegel and south past the first bridge and then east hugging the north (avoid the poison of course). You’ll see a cave. This is mostly a pointless excursion but when you have to grind levels for days, it’s worth checking out some different sights.
Enter the cave. Cast Radiant, go north all the way, east for a bit and then go south when you can. You’ll reach some stairs, where you should then go east, north and west for the treasures that you need. The torch is useless but the Fighter’s Ring is not. Use the Fighter’s Ring to put it on and add to your physical prowess. Wait what does it actually? Turns out the Fighter’s Ring may do nothing at all, while some theorize it still has some effect.
Cast Outside or just walk to get out of here.

Cantlin
Okay it’s time to venture southwest of Tantegel where the hard monsters are. First of all once you pass that second bridge going south you’ll start fighting Knights and Rogue Scorpions and those Demon Knights. Tough monsters, I suggest running or spending lots of time building up. Even harder monsters are in that village (yes, there aren’t people there) so don’t treat it as an oasis.
Instead go south of that village and across the bridge at the very south (near this bridge are Metal Slimes, great way to mine exp points). Now go northeast ignoring the first east bridge but taking the second one and fighting through the poison spots. Watch out for the Wizards and Werewolf and Magic Wyverns. They’re everywhere. As you near this town past the poison spots, heal up and have that Flute ready.
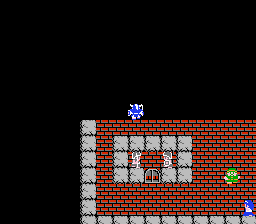
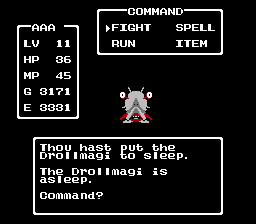
A Golem awaits you. It attacks hard and looks like a Gold Man. The Fairy Flute puts it to sleep though and will continue to do so. Do your damage then and you should be able to take it down and venture into Cantlin.

They don’t have anything here in terms of weapons and armor. That is, until you use a key to go to the east part of town. A guy sells magic keys here and the soldier looking guy has a Flame Sword for 9800 and Silver Shield for 14800!!!! I don’t bother with the Flame Sword but the Silver Shield is the best shield you can get so you’re gonna need to save up bud. Don’t worry, Dragon Warrior sets it up so you only have to defeat about 79 or so Gold Men to get it :).
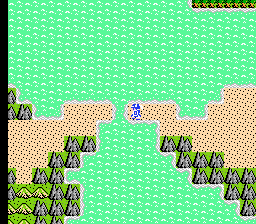
Back outside go south and east through the first bridge this time. You’ll see a huge poison area, you want to be able to work your way to the east part of that. You will find the Token of Erdrick around the center part of this eastern poison swamp (look at picture).

Green Dragon / Princess Gwaelin
Hawksness
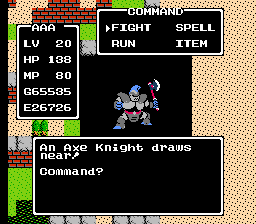
Okay now that you have the Silver Shield (right) you should be able to handle the Axe Knight. Inside this town (it wasn’t destroyed in Dragon Quest 3) you’ll see the toughest monsters yet – Starwyvern, Green Dragon, Werewolf, Wizard, etc. Make your way to the east part, kinda to the south. You’ll see a forested spot that is by itself after a few poison spots. If you make your way here you have a battle with an Axe Knight every time. He is a tough fight and it’s tough to get him to sleep, but that’s what you have to do. He is powerful so hopefully you can do some damage yourself. Search the spot afterwards for Erdrick’s Armor!!! This is the best armor, period.

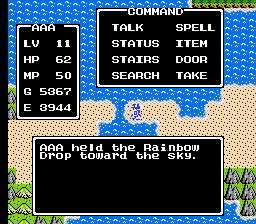
Rimuldar
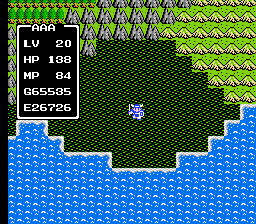
Go south of Rimuldar actually to that shrine, this time the guy gives you a Rainbow Drop. Go to the very northwest of Rimuldar’s land and use the Rainbow Drop where the land is a space away (see pic below). Of course, a bridge forms!
Go west and you’re in Charlock Castle, the Dragonlord’s Castle.
Charlock Castle
You need to level up massively to be able to defeat the Dragonlord and just to survive around here you should be at least in your low 20’s. We’re gonna get the Erdrick’s Sword first and then go back out and fight a bunch of battles to prepare.
Anyway, go west, north, south, east and north when you walk in. When you’re in the damage spot area, go behind the throne and search for a staircase. Go down it and you’re in a dark area.
 Cast Radiant and then travel west and south to the staircase. Follow the path on the next floor to the next staircase. In this next area, go west for the staircase.
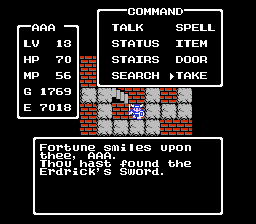

Now go north and east and you’ll be at a split. If you take the inner west path you’ll reach the Dragon Lord or if you go south you’ll reach Erdrick’s Sword. Take this south path and down the stairs. Down a few more stairs and the Erdrick’s Sword is yours!
There are ridiculous monsters around here especially the lower levels. Blue Dragons, Red Dragons, Stonemen, and Armored Knight are the monsters that will blow you the hell out. As always, Sleep is key and some of these guys are good at evading the spell. Build up with them or fight around on the first floor. The mid to late 20’s is ideal for fighting Dragonlord easily. It can be done much earlier but the higher in the 20’s the more comfortable it’ll be for you.
Take that Dragonlord path and you reach light. Go north and you can get an Herb, Cursed Belt, Wings, 680 Gold, Herb and a Key. Nice loot but not too useful now. Go west, north, east all the way and then south all the way. The toughest monsters are around but you’re near the Dragonlord.


Talk to the Dragonlord. If you agree to “rule the world” with him, and if you choose to really do it, he’ll take your history book and erase it – yes, your quest is gone. What a feature for a game to have to make you pay for your ways but if you choose this and you spent all that time levelling up getting here, then I pity you. Instead tell him to screw off and fight him.
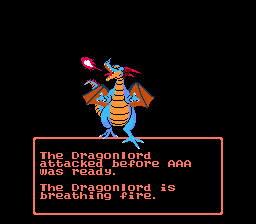
Dragonlord is a little guy at first, casting Hurtmore and attacking meagerly. After you kill this form (about 100 or less HP) he’ll turn into a huge dragon. Dragonlord indeed! Well stil, you’re going to want to have him attack you twice and then use Healmore. That other turn should be spent attacking (you might attack twice and cast Healmore depending on level). Continue this pattern and hopefully you can take him down. His HP isn’t that much even though you take off a little amount as well. Magic, even Hurtmore, won’t touch him. You have to attack him with Erdrick’s Sword.
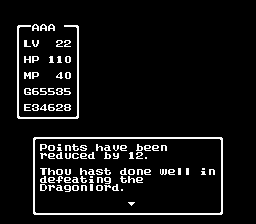
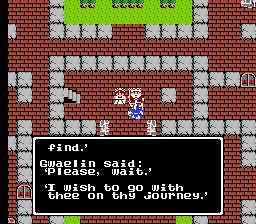
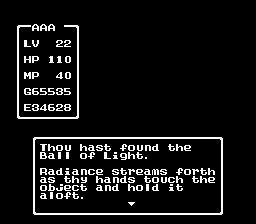
The Ball of Light is dropped after the battle and no monsters are around. Go back to Tantegel for a hero’s welcome. Talk to the king and you’ll decide to go on a journey. You must take Gwaelin with you, and off you go.


thank you!
NIGGER FAGGOT!!!!!!!!
It is possible to pass the game without rescuing Princess Gwaelin. There isn’t a significant change in the ending. I think the hero goes on the journey alone.
Level 30 is the last level of the game and it is reached at 1 million experience points. At this level it is possible to beat the Dragonlord without a weapon, have some fun and try beating the crap out of him with your bare hands.
I don’t understand what some of the items do. For example, the dragon’s scale. I also don’t know how to use the flute or the sun stone and such. Can you give me an idea on some of these things? thanks :-)
Dragon’s Scale or Dragon’s Bane – you go to item – use and it will be “equipped”. It raises your defense a little bit.
Stone of Sunlight is used later on after you get it – see walkthrough above to see where.
Flute is to be used on the Golem outside Cantlin to put it to sleep.